
Why is JoJo’s Bizarre Adventure, a 30-year-old manga series, suddenly picking up so much popularity? My first time hearing it was two years ago, from a Japanese colleague in his 40’s. Merely two years later, the internet is suddenly filled with all the JoJo memes. I puzzle over this as I listen to il vento d’oro for the 50th time – and I haven’t even watched the fifth season yet!
Ahem. As I was saying, I made a lot of progress in the past two weeks. No, really.
Code
I dived back into my 3D tilemap system and tackled the visibility group problem last week. In simpler terms, when player enters house the game hides the outside world. Most 2D RPGs cheat by “teleporting” the player to a different section of the map with black tiles around the room, creating the impression that the player entered a house. This can even be done with 3D RPGs with appropriate fade in/out animations.
I don’t like cheating. I want houses to be the same scale from the outside and the inside. I don’t want player to enter a house just to find out it’s magically a lot bigger inside. In this aspect, the Witcher 3 did a great job, where they had no transitions when entering a building and modeled every single house inside & outside!
How might this be an obstacle? Unless the Witcher 3, the player’s view is mostly at a fixed angle throughout our game, like most RPGs. So we can’t adjust the camera to be at a convenient angle when the player enters a house. Instead, we have to hide the walls when that happens.
There are several ways to go about this, but surprisingly few exist that works with our 3D tilemap.
Raycast

This method draws a line from the player’s camera to the player’s sprite, and we can find all the tiles that are in the way. With the list of tiles, we can simply not render them, or set them to translucent.
An even better way is to use a custom shader to automatically fade out tiles within some distance from the line-of-sight from player’s view to the character. I found a very interesting blog describing how this can be done. The GIF above shows the opposite effect, but it is just as easy to play around with the range and alpha value to make it so that tiles in front of the character are faded out.
This method has a major advantage in that we don’t need to do any extra work on the tilemap to make this work (apart from writing the shader). However, a major problem is that it doesn’t look great. Imagine you enter a building and all you see is the building’s facade, with a small circle of visibility around your character. It would look like this:
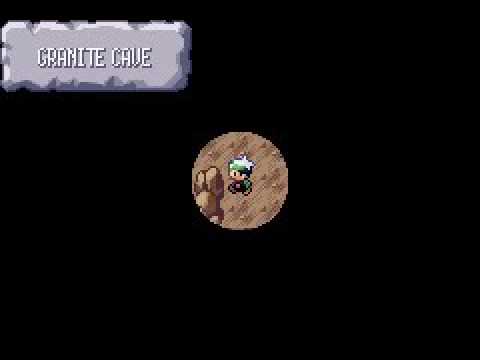
Not great.
Visibility Trees
This method annotates every single tile with a tag, and shows/hides based on the player’s current position. For example, if player is on “City”, then all tiles tagged with “City” will be visible. If player now moves into “City/Inn”, then only tiles tagged with “City/Inn” will be visible.
This is a tree structure, exactly like a file system. Great, because all the knowledge I learned on operating systems might come in handy now…
(It did not.)
It turns out this is an opportune time to solve this problem, as in Unity’s latest 2019.3 release, we can now save tree in scripts efficiently with the new SerializeReferenceAttribute. Previously, to save a tree to disk in Unity, we first have to flatten it into an array (causing us to use 2x disk space – not that in this use case it’s anything worrying, but I just don’t like inefficiency).
So I created a ScriptableObject that contained my structure tree with nodes containing tag name and identifier. I then added a structureId field to each GameTile. Theoretically speaking, we now just need to toggle tile visibility around the player every time player walks, based on the structure of the current tile.
But it never is that simple.
In order for the whole thing to work, I need to have an efficient editor for the structure tree and for tagging the tiles. This turned out to be the crux of the problem. Writing custom editors in Unity is a pain.
After 20 hours, jumping through many loops, I adapted Unity’s TreeView editor control and managed to make an editor to edit the structure tree. Inside the ScriptableObject containing the tree, I keep a counter for assigning each node a unique identifier. It is crucial for the tiles to store the identifier, and not the name of the structure, so the reference is not broken when we change name.
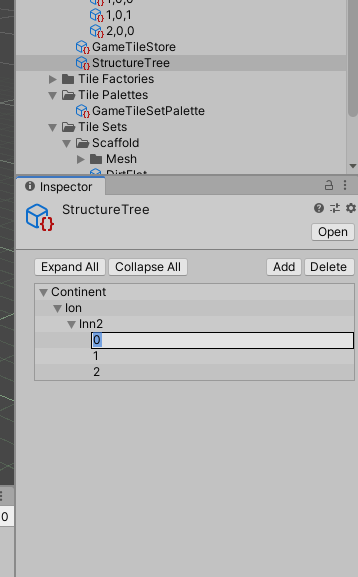
StructureTree editor.The next part took longer as I tried to mimic Unity’s built-in Object picker. With multiple tiles selected, we can assign a structure tag in bulk with this picker. I couldn’t find a proper way to create this window, so instead I just made a custom EditorWindow. However, it is tricky to relay the selection back to the selected editing objects. Since Unity editor UI uses what’s called immediate mode graphical user interface (IMGUI), it doesn’t play nicely with a event-based approach. The object being edited once I select a structure tag might already have changed.
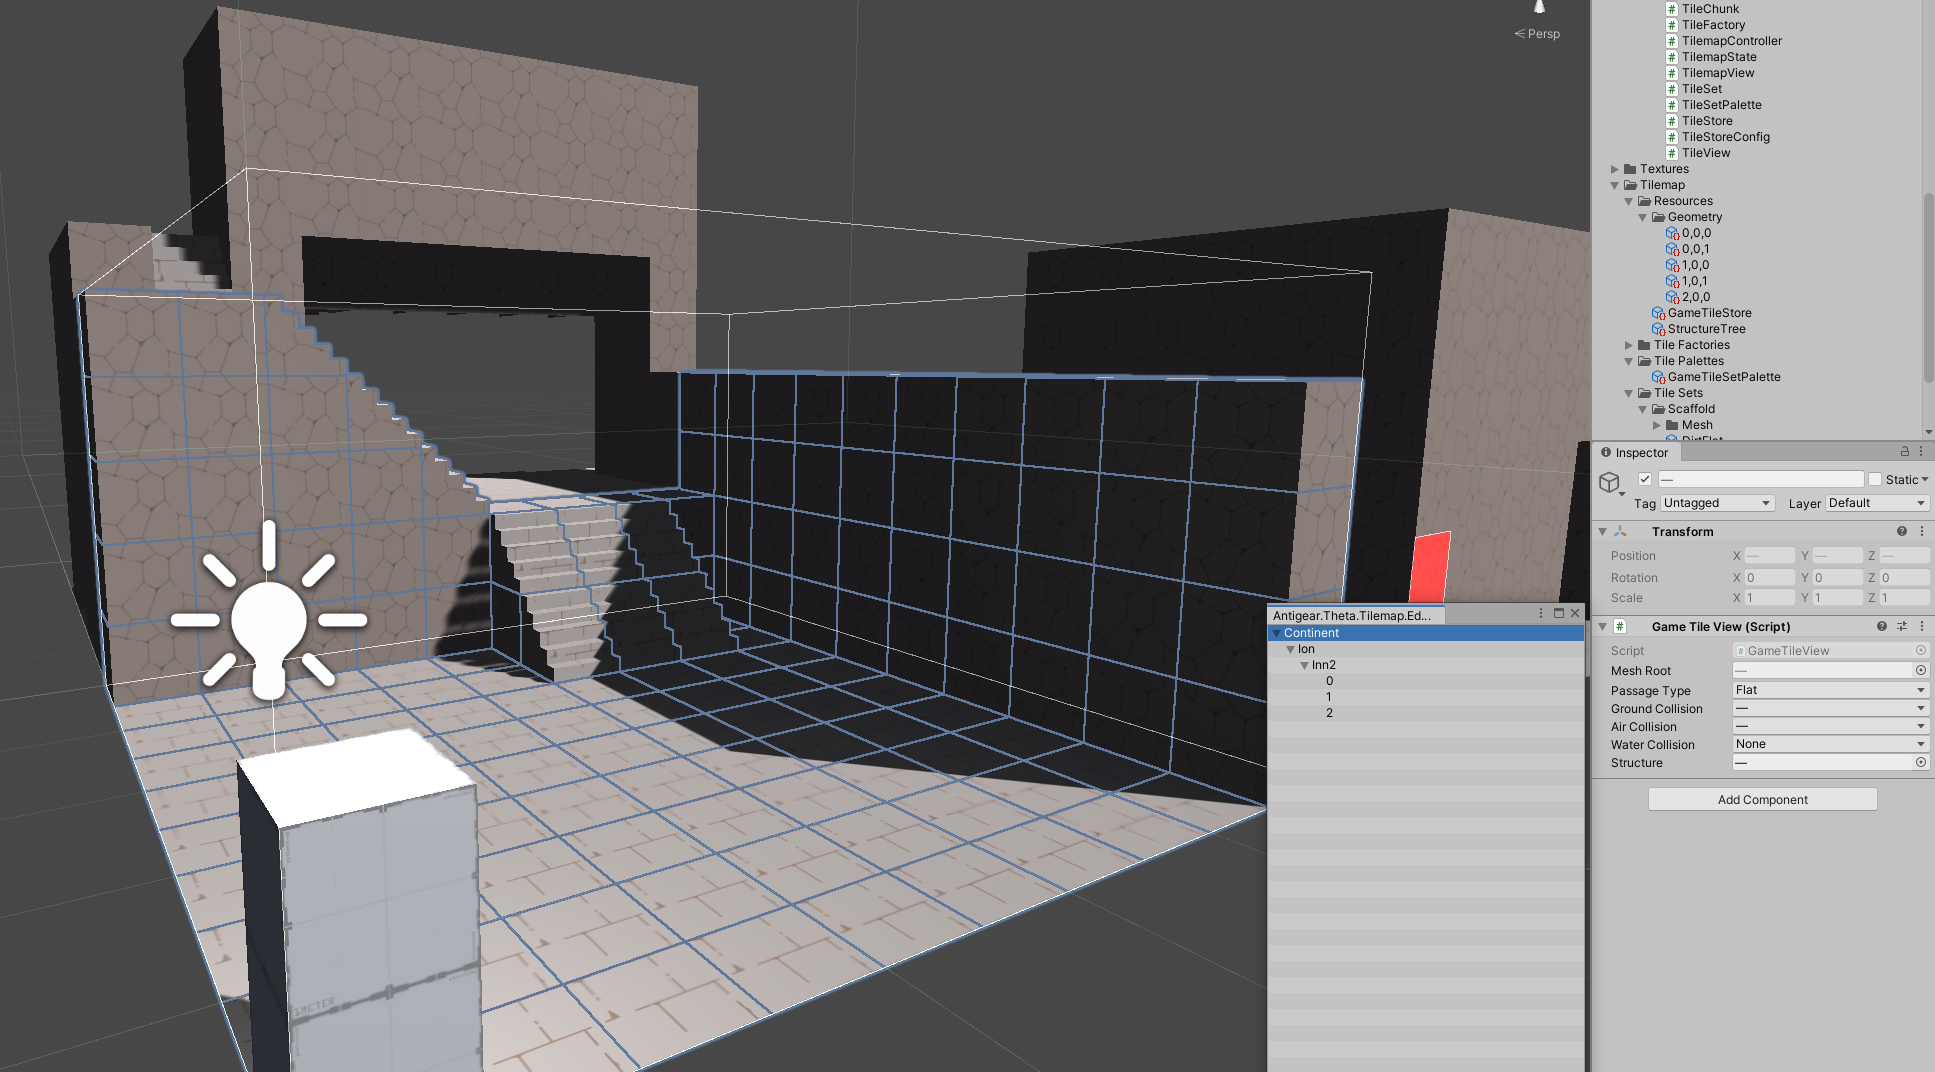
GameTileEditor, with the StructurePickerWindow open.I solved this with yet another identifier system. I assign a unique runtime identifier to every single tile being edited (but not persisted to disk, hence “runtime”), which will stay the same until editor reload. When the GameTileEditor opens the StructurePickerWindow, I pass in the list of runtime identifiers of the selected tiles. Once a structure tag is picked, the window writes the picked structure to a dictionary in GameTileEditor. The editor then consumes the results in the next OnInspectorGUI() update.
It was slightly more complicated as I ran around in circles trying to support multi-object editing, as it is simply impractical to tag tiles one at a time. Unity really doesn’t have great documentation when it comes down to the lesser-used details!
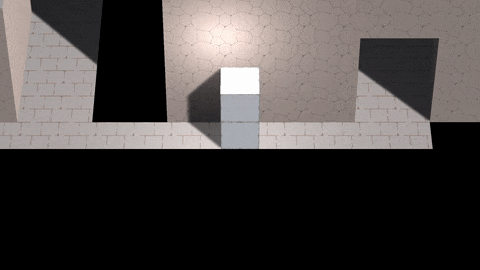
The result, though, is beautiful (code-wise, not art-wise):
Art
Y was occupied, but she still sketched a new character. Not exactly what I had in mind when I gave her the description, but we could always use more character portraits!

Narrative
I want to introduce the Continent, where the game will take place. I have chosen a geocentric flat-earth model, a.k.a. the Continent is flat and the Sun revolves around the Continent.
The Sun revolves around the Continent once every 24 (Earth) hours, which we call one day. In addition, the Continent self-rotates once every 360 days, which we call one year. (Technically the Continent is stationary and the sun is rotating on two axes, but that’s a lot harder to visualize.)

The continent exists in space as a disk with a radius of 2,000 km, with 1,000 km of land surrounded by another 1,000 km of ocean. This makes the ocean covering 75% of the entire world, as opposed to 71% on Earth.
These traits make some highly amusing world, especially when it comes to seasons. On Earth, seasons are caused by temperature variations due to the Earth’s tilt angle causing a particular place to be closer to the Sun in the summer and farther away in the winter. On the Continent, the same thing happens because the sun is closer during…wait…
It’s not as simple as it first appears!
Expect a lot of math for the next post as I analyze exactly what the four seasons would look like on the Continent!